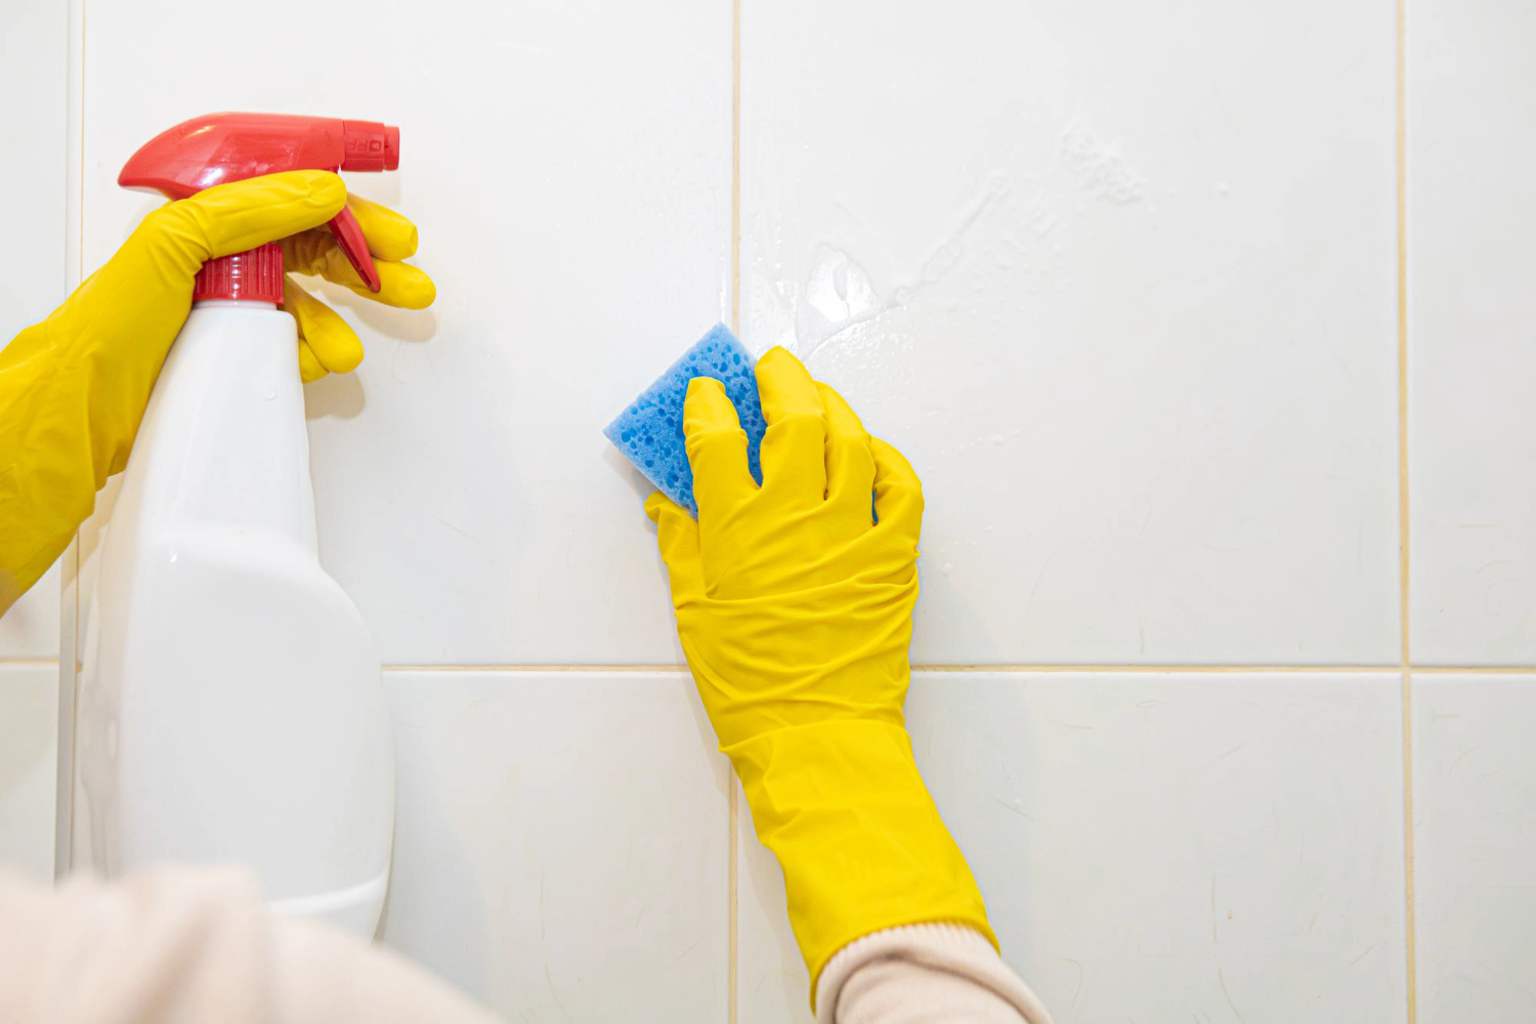
Keeping your kitchen spotless is a daily challenge, especially during the hot months when hygiene is crucial to avoid unpleasant odors and unwelcome insects. Among the trickiest surfaces to maintain are the kitchen tiles, which are constantly exposed to grease and splashes. But what if the quickest and most effective solution is hiding right in your kitchen pantry? A homemade mixture of lemon juice and baking soda might just change the way you clean your tiles forever.
Why kitchen tiles need special attention
Many of us assume that kitchen tiles can withstand any mess they face, but the reality is quite different. Grease tends to embed itself deeply, and even regular soapy water cleanings often leave behind stubborn residues. Common chemical cleaners like vinegar or ammonia might seem like easy weapon choices but are often less effective and unpleasant to handle. Plus, their strong smells and harshness can be a downside when used frequently in living spaces.
I remember struggling with greasy kitchen tiles growing up, trying everything from store-bought products to elbow grease. Nothing felt quite right—the smell of ammonia always chased me away! So, discovering this natural yet powerful combination was a real game-changer for me.
How lemon and baking soda create a powerful cleaning duo
This natural cleaning trick harnesses two common ingredients with complementary powers. The lemon juice works as a degreaser and deodorizer thanks to its acidic punch, while baking soda acts as a gentle abrasive to loosen grime without scratching surfaces. When mixed, they create a fizzy reaction that lifts the toughest dirt off your tiles.
To prepare, squeeze two fresh lemons to gather about a quarter of a cup of juice and pour it into a bowl. Gradually add baking soda while stirring until you get a thick paste. This paste clings perfectly to your tiles, making sure it tackles dirt deep within even the most stubborn spots.
Applying the mixture and achieving sparkling tiles
Using a soft sponge or microfiber cloth, apply the paste generously to your tiles. For those blackened or deeply dirty grout lines, an old toothbrush works wonders to scrub precisely where needed. Let this mixture sit for around 15 minutes; during this time, the citric acid breaks down grease and removes stains naturally.
After waiting, gently rub the area with a clean sponge dipped in warm water, then wipe dry with a cloth for a shiny finish. This last step brings out a fresh glow, especially noticeable on light or glossy tiles, brightening your entire kitchen.
This method doesn’t just end with kitchen tiles—it also works wonders on shower walls, bathroom tiles, and even inside microwave ovens. The grout lines, which are often the hardest to keep clean, regain their bright, neat appearance quickly and safely.
What I love most is that this solution is not only inexpensive but also kind to your health. It avoids the skin irritations common with chemicals and does not pollute your indoor air, fitting perfectly into a natural and sustainable home care routine.
If you’d like to boost the aroma and disinfecting power, adding a few drops of lemon or eucalyptus essential oil can give your kitchen an invigorating, fresh scent. By making this cleaning a regular habit, you’ll find your tiles stay cleaner longer, cutting down on heavy-duty scrubbing sessions.
Have you ever tried natural cleaning hacks like this one? What’s your experience with kitchen tile maintenance? Share your thoughts and tips—we’d love to hear from you! And if you found this useful, why not share it with friends who appreciate simple and chemical-free cleaning tricks?
